Brush up on your print basics
Understand these print basics and you’ll have no trouble delivering print-ready files!

by tale026
At 99designs, we'd like to ensure you deliver high-quality print files to clients. Once you've figured it out, not only will you gain extra skills, you will also attract more clients who trust you to do a great job from start to finish.
Read on to deliver great print files.
Size and specifications
First, ask your client for the dimensions of the print design. If they don’t know, use a standard size or help them decide.
Be aware that standard print dimensions can be different in each country, so please make sure to set up your files accordingly.
For example, standard horizontal business cards are 3.5 x 2 inches in the US and 85 x 55 mm in the EU:
For example, standard horizontal business cards are 3.5 x 2 inches in the US and 85 x 55 mm in the EU:

Many printers provide template files for standard print deliverables. Setting up your design on their template files will ensure that your files are the right size and will print correctly.
Download template files for standard print deliverables here →
Download template files for standard print deliverables here →
Color mode
How colors are represented in your design
- CMYK: An ink-based mode used in print.
- RGB: A light-based mode used on-screen.
-
 by Owley
 -
by A&V
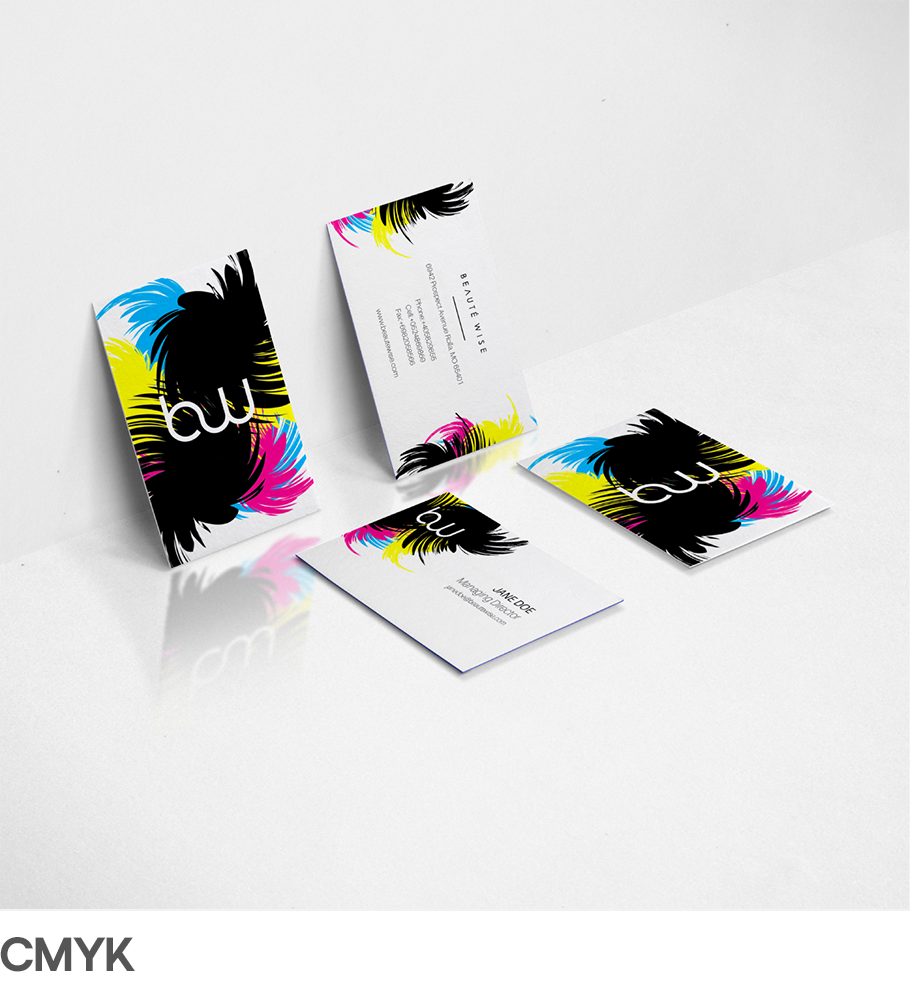

Print designs are printed using an ink-based color model called CMYK. You won’t be able to print your designs using a light-based color model like RGB because the colors won’t look the same in print as they do on screen.
Some types of design like logos are used in both print and web, so you’ll need to create both CMYK and RGB versions of those designs.
You should always create your print files in CMYK color mode first, not RGB mode.
Vector vs raster images
Vector images
Raster images
- Made up of basic geometric shapes such as points, lines and curves.
- This allows the image to scale up or down in size without losing quality.
- Design software such as Adobe Illustrator are used to create vector images.
- Designs like logos should be created with vector software so they can be scaled up to fit on a billboard, or scaled down to fit on a website header.
Raster images
- Made up of a set grid of dots called pixels where each pixel is assigned a color value.
- Unlike a vector image, raster images are resolution dependent.
- When you change the size of a raster image, you shrink or stretch the pixels themselves which can result in a significant loss of clarity and very blurry image.
- Raster software such as Adobe Photoshop or GIMP are great for creating raster images and editing photographs as well as for adding effects.

Resolution
The amount of pixel detail in an image


Low resolution: Fewer pixels make the image pixelated.
High resolution: Many pixels make the image sharp.
High resolution: Many pixels make the image sharp.
When using raster images in print design, make sure the resolution of the image and your print file is 300ppi.
Print guidelines
Measurements to ensure top-notch printing
- Trim Line: Where the printer will cut your image.
- Bleed: The area beyond the trim line that extends printing to the edge.
- Safety Line: The border that contains all printable text.
-
by Widakk
-
-


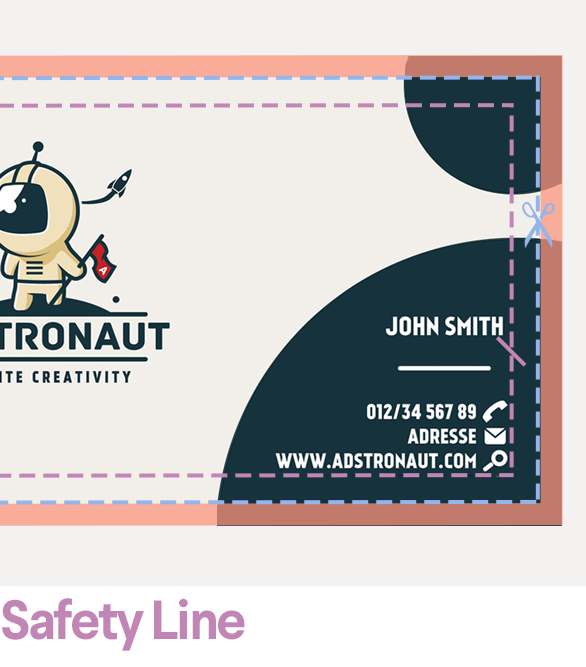
After the sheet is printed, it is cut along the trim line to ensure that the color goes right up to the edge.

Always add bleed areas to your files. The size of bleeds can vary from printer to printer, so you should always ask your client which printer they are using so you can check that printer’s specifications.
Many printers provide template files for standard print deliverables, so setting up your design on their template files will ensure that your bleeds and files are the right size and will print correctly. If your print design is a custom size, you’ll need to set up your bleeds manually.
Download template files for standard print deliverables here.
Learn how to set up your bleeds here.
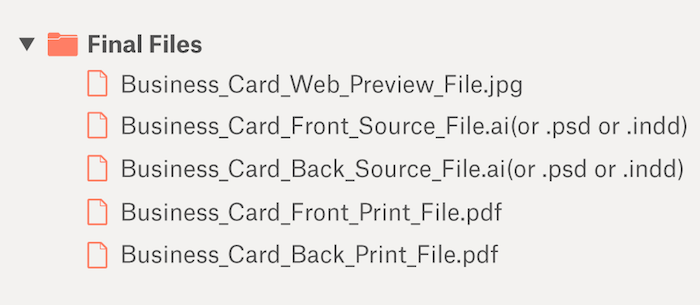
Files to deliver to your client
After your client has approved your final print design, please send them these files (and make sure to label them so the client knows what each file is for):
- A layered, editable source file of the final design (AI, PSD, EPS or INDD) in which the fonts are editable, not outlined
- A print-ready PDF file in CMYK color mode, 300dpi resolution, and with all the fonts outlined
- All web preview images (JPEG or PNG)
- A link to purchase any commercial fonts used in the design

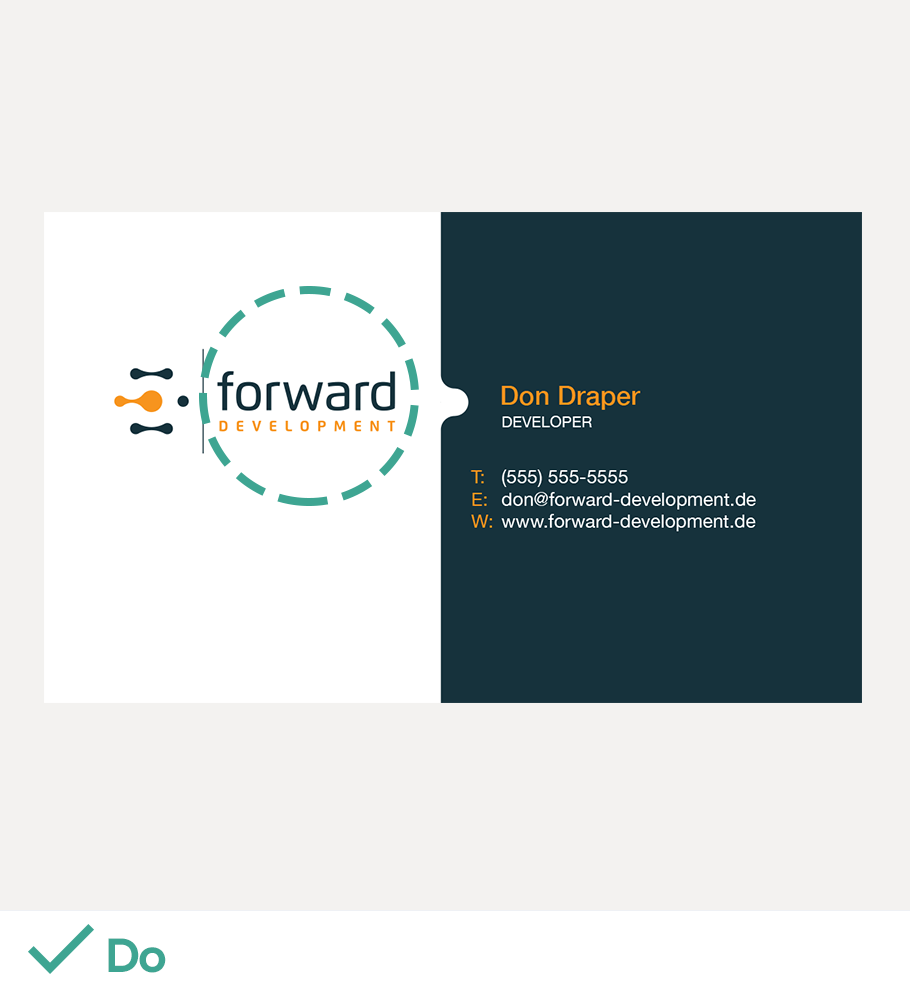
Do’s and don’ts
Great design never came from following rules. So, break ‘em! Except for these. They’re pretty important. Stick to these guidelines to ensure you’re delivering usable print files to your clients.
-
by sheva™
-

DO make the company name/logo larger than 12pt.
DON’T use any font sizes smaller than 8pt.
DON’T use any font sizes smaller than 8pt.


DO outline fonts for permanent text such as company name and slogan.
DON’T outline fonts for editable text such as contact information in your source files.
DON’T outline fonts for editable text such as contact information in your source files.
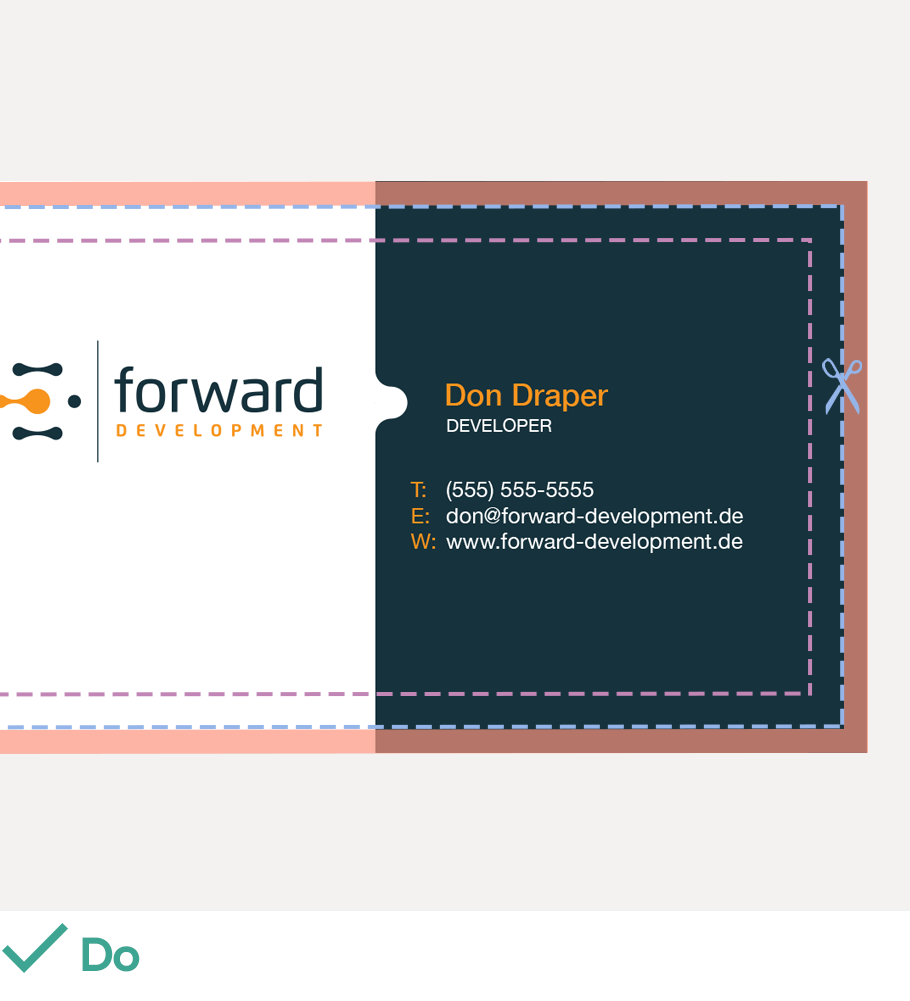
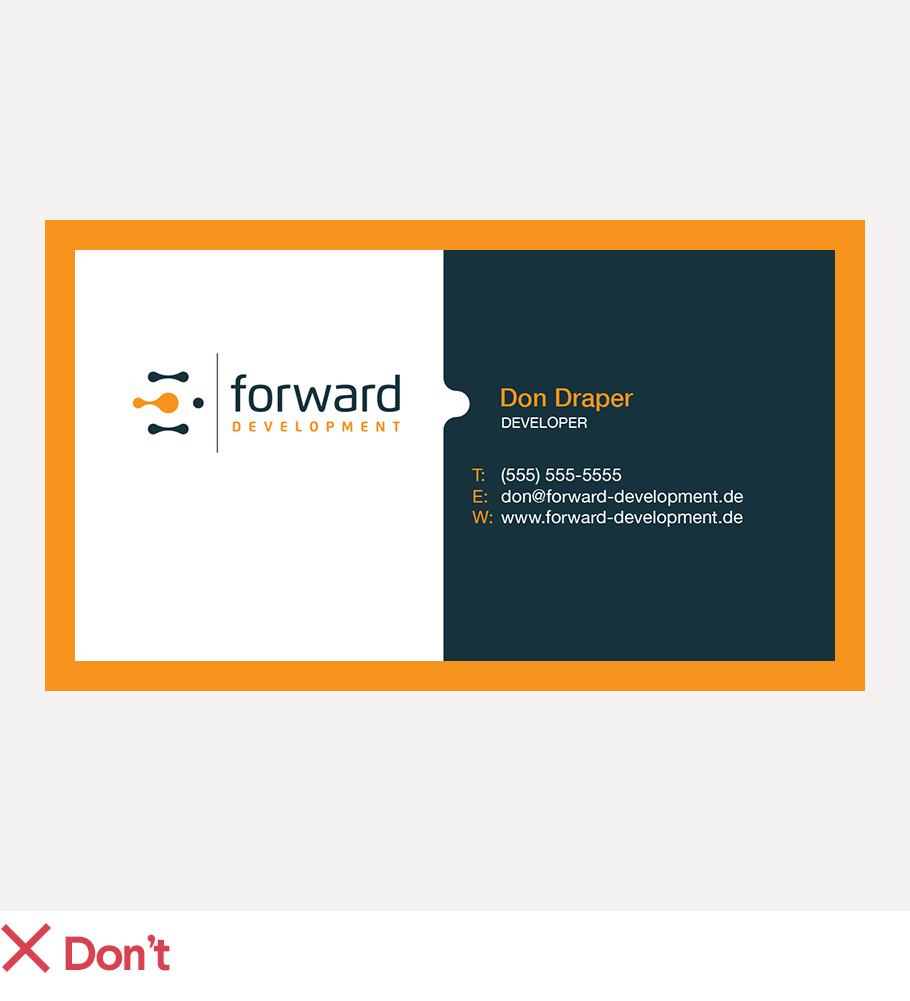
DO extend your design to the edge of the bleed area.
DON’T use borders because they’ll probably look lopsided after printing.
DON’T use borders because they’ll probably look lopsided after printing.


DO remove all template layers so only your design is left when submitted to client.
DON’T submit more than one design in a file.
DON’T submit more than one design in a file.

Want to learn more?
From the blog
- Prepress Checklist: How to prepare your design for print
- Designing stunning stationery
- Master the business card printing process
- Create an editable PDF business card template in 7 steps with Adobe Acrobat
- 7 tips for designing print-ready business cards
- 4 tips to get you started in business card design
- 8 common print file mistakes and how to avoid them